What are photo tiles for?
Mixtiles are one of the things that people sometimes wonder about. People know what tiles are for, but it's only natural to wonder why anyone would spend good money on cubes with photos on them.
The answer is simple: because mixtiles look great! A photo tile makes an excellent gift, and these days many businesses use photo tiles as their preferred way of handing out contact info or advertising special offers or discounts at their business premises. But in order to make high-quality mixtiles you need to be able to properly make photoshoot.
Photo Tiles vs Regular Tiles
There are several differences between regular tiles and photo tiles. For example, regular tiles can be made of clay, ceramic, marble, travertine (marble with a rough surface), granite (very hard stones), and other materials. Photo tiles are made of high-quality plastic that is durable and will not fade or discolor with age.
Another difference between regular and photo tiles is that regular tiles can be printed on both sides, while photo tiles can only be printed on one side since the other side is used for the adhesive.
Photo tiles come in various shapes and sizes, whereas regular tiles are usually square or rectangular. Finally, because photo tiles are made of plastic, they are much lighter than regular tiles, which makes them easier to handle and install.
Types of phototiles
Having established that photo tiles and regular tiles are not the same, we should say a few words about the types of photo tiles available. There are two main varieties: 1) stickers and 2) full-tile prints.
Stickers: These are like decals you put on flat surfaces such as windows or cars to make them look better (or brand them). Photo stickers can be attached to walls (in this case they serve as wallpaper), but also other flat surfaces such as tabletops, desks, mirrors, etc. If you want to change your room's appearance fast and easily while maintaining low costs and leaving no damage behind when you leave or move out, then photo wallpaper is definitely what you need!
Full Tile Prints: As we've mentioned before, regular tiles can be printed on both sides. However, with photo tiles, only one side can be printed because the other side is used for the adhesive. So if you want both sides of your tile to have a photo or design on it, you will need to go for full-tile prints. These are more expensive than stickers but they look much better and last longer.
Mixtiles
Now we've covered the basics and established what photo tiles are and how they differ from regular tiles, we can take a look at mixtiles.
Mixtiles are 8*8 inch photo tiles that come as a set of 12. They are made of high-quality plastic and, as we mentioned before, are very light. You can choose to have your photo tiles printed with full-tile prints or stickers.
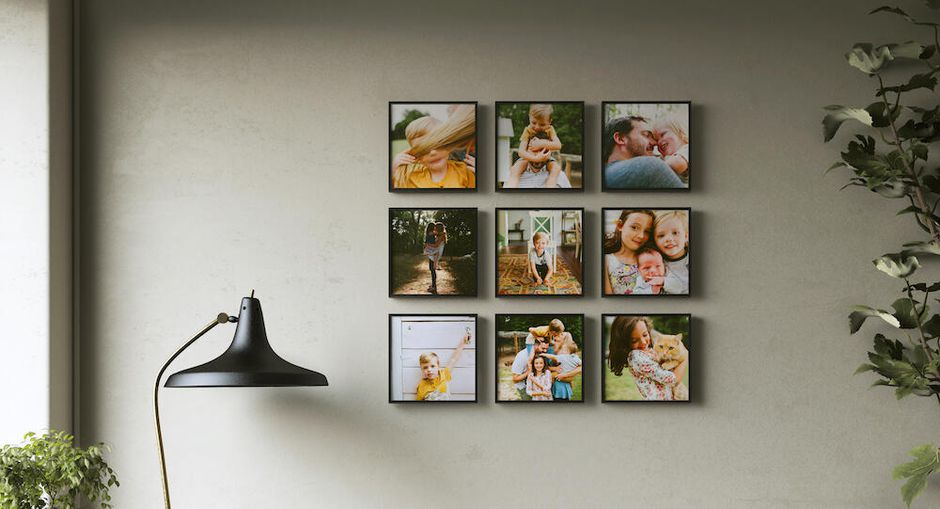
The best thing about mixtiles is that they are really easy to use! Just peel off the adhesive backing on the back of each tile, place it on the wall (or any other flat surface), and give it a few taps to make sure it's stuck well. You can even move them around if you want to change their position later on.
Mixtiles come in a range of sizes as well, so you can choose the perfect photos for your tiles. The smallest size is 2"x2", and the largest is 6"x6". If you have a lot of smaller photos, or if you want to use photos that are in square format, the 2"x2" size is perfect. For larger photos or rectangular format photos, the 6"x6" size will be best.
How do I create my mixtiles photo collage?
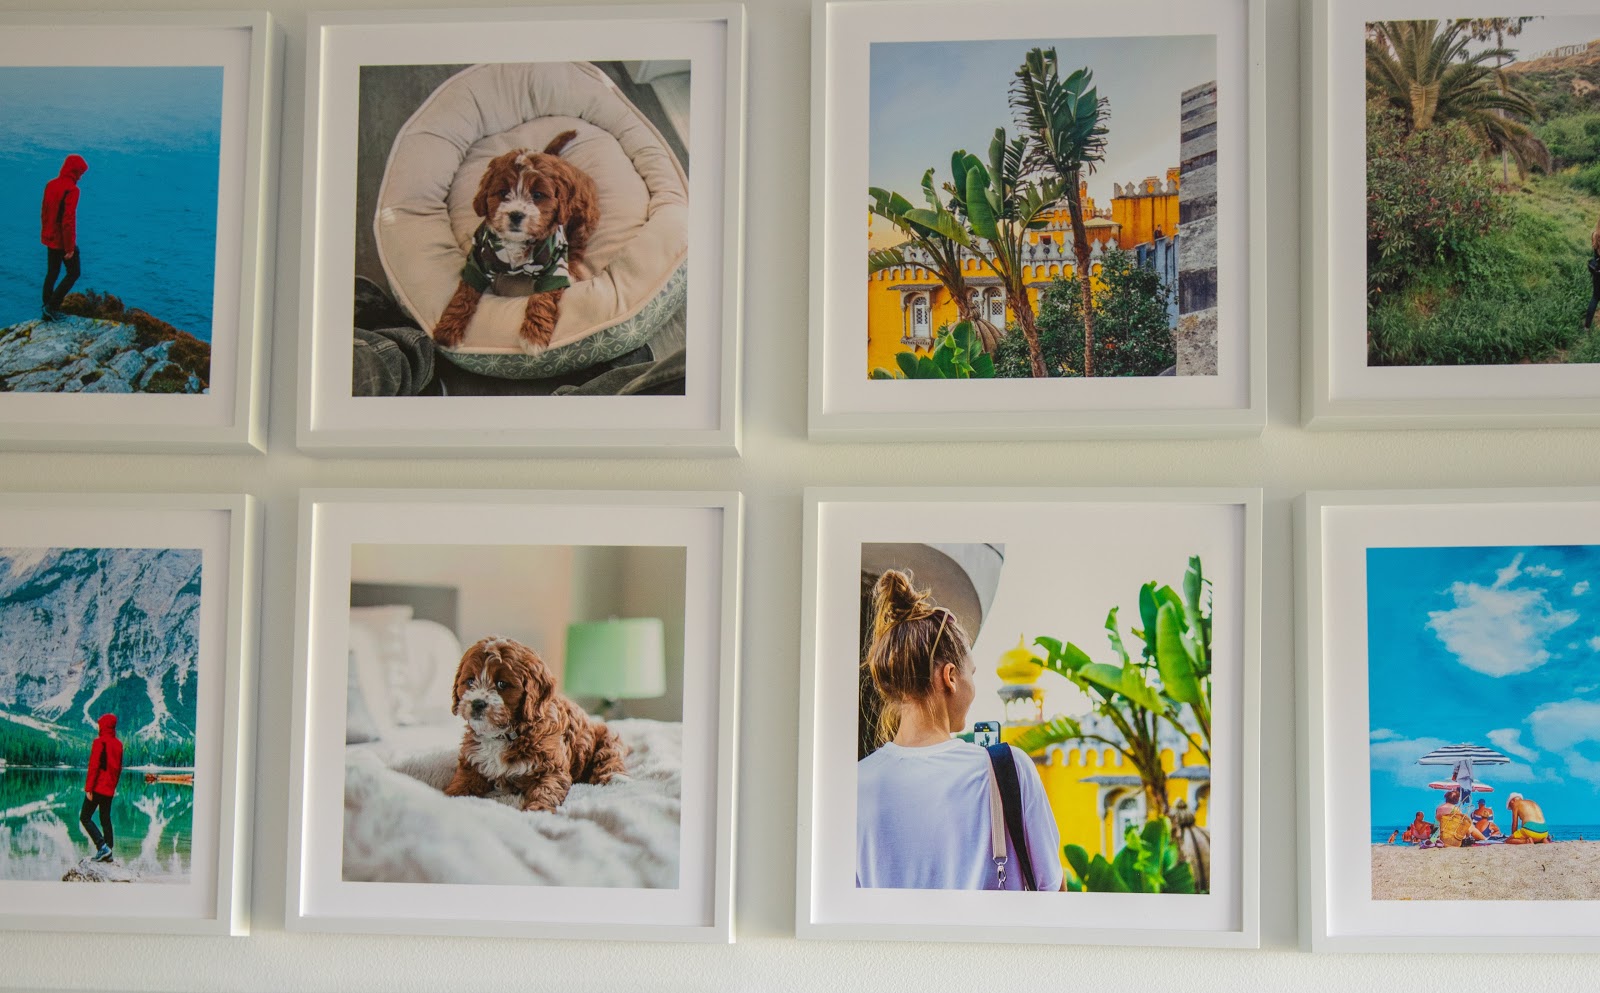
The process of creating your mixtiles photo collage is very easy. First, select the photos you want to use and upload them to the Mixtiles website. Then, drag and drop the photos into the desired position on the template. You can also resize and rotate them to get the perfect layout.
Once you're happy with your collage, add any text you want and choose a border color or style. You can even choose to have a black and white effect applied to your photos. When you're finished, click on the 'add to cart' button and checkout. It's as easy as that!
Mixtiles or Snaptiles - what is the difference?
It might seem that mixtiles are the same as snaptiles. After all, they are both full-tile prints of high quality, come in a set of 12 photo tiles, look great on walls and flat surfaces, etc.
So what is the difference between snaptiles and mixtiles? The main difference is that snaptiles are made of polyurethane, not plastic. If you prefer shiny surfaces over matte ones then you should go for snaptiles .
Also if you want your tiles to be printed on one side only (for example to use them as coasters) then you will have to go for snaptiles because they can be printed only on one side.
Where is the best place to put on mixtiles?
Now that you know all about mixtiles, the next question is: where is the best place to put them? The possibilities are endless! You can use them on your walls, as we mentioned before, but also on other flat surfaces such as tables, desks, mirrors, etc. You could even use them as floor tiles (although we don't recommend this because they are not made for that and might not last very long).
One place you might not have thought of is above the ladder on the wall. If you have a lot of ladders in your house (or if you just like to be organized and have everything in its place), then mixtiles are a great way to personalize and organize them. Just attach a tile with your favorite design or photo to each ladder and voila! You'll never lose track of your ladders again.
Mixtiles are perfect for people who want to add a personal touch to their home without spending too much money or doing any damage. They are also great for people who like to change their room's appearance often because they can be moved around very easily.
How to install photo tiles
To install a photo tile, all you need is a damp cloth or sponge, a little bit of soap (optional), and a few minutes of your time. First, make sure the surface you're going to install your tiles on is clean and free of dust, dirt, and other debris. If it's not, give it a good wipe down with your damp cloth/sponge.
Next, measure the area where you want to install your tiles and cut the adhesive paper to size. You should also cut out a piece of adhesive paper that is the same size as the tile itself. This will be used to cover the back of the tile so that the adhesive will stick better.
Once you have everything ready, start by sticking the adhesive paper to the back of your tile. Then place the tile in the desired position and give it a few taps to make sure it's stuck well. Finally, use your damp cloth/sponge to wet the back of the tile. This will make sure your photo tiles stick even better!
Repeat these steps with all the tiles, and you're done! The entire process shouldn't take you more than 15 minutes if you know what you're doing. If not, expect it to take about half an hour.
Stylish tips on how to set mixtiles
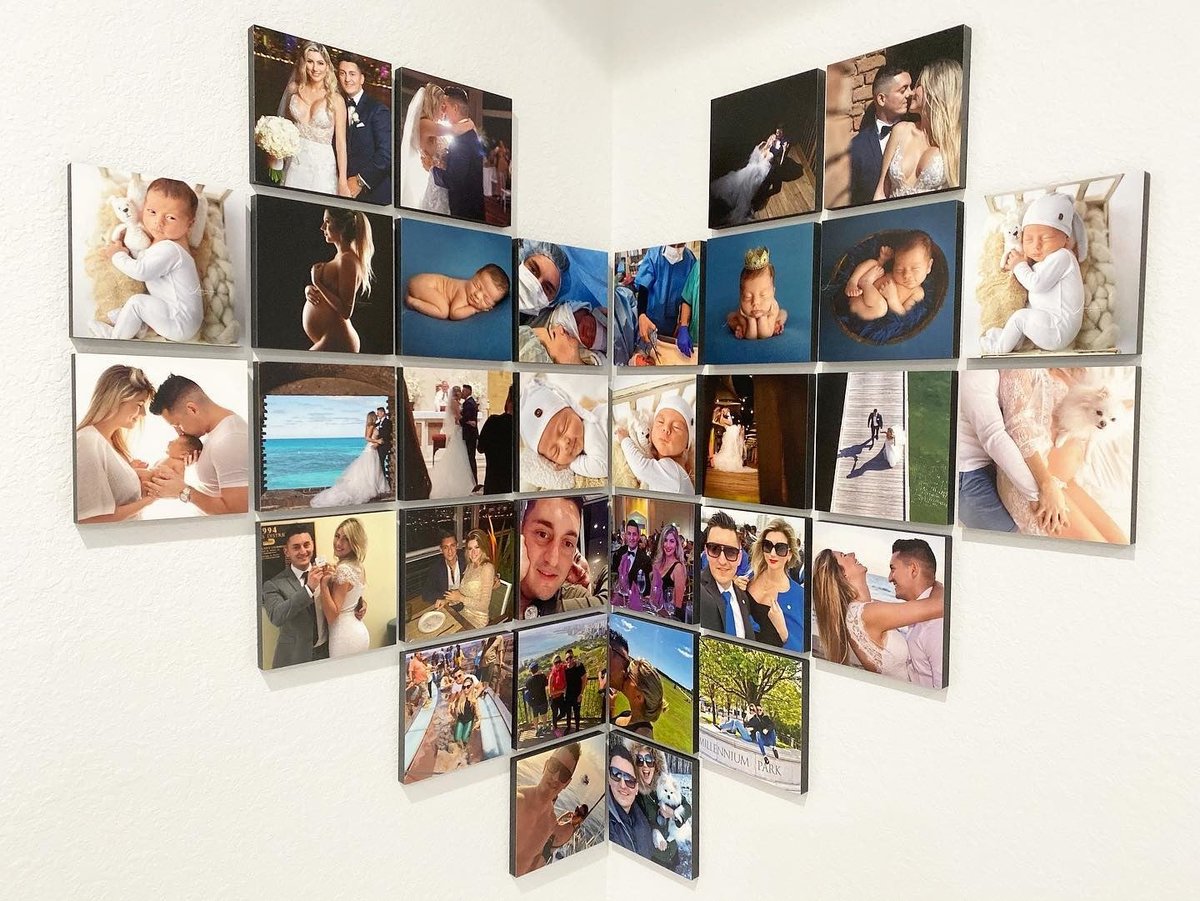
- For a stylish and modern look, mix different shapes and sizes of photo tiles.
- Create a patchwork effect on your wall by mixing full-tile prints with stickers.
- To add a touch of glamour, use metallic or glittery stickers on your photo tiles.
- If you want to use your photo tiles as coasters, choose designs that are not too busy so that they don't compete with the drink you're serving.
- Use negative space to create striking effects and make your photos really stand out.
The benefits of using photo tiles
There are many benefits associated with using photo tiles in general and mixtiles in particular. Here are just a few:
Quick Installation: All you need is a damp cloth or sponge, soap (optional), and just a few minutes of your time to get started. No mess, no fuss.
Fits Your Style: Whether your style is modern, classic or anything in between, you can find a mixtiles design that perfectly suits your tastes. That's because there are many different designs to choose from, and they're all equally stylish.
Easy Maintenance: To clean the tiles, simply use a damp cloth or sponge and wipe away any dust or dirt. All it takes is a few minutes of your time every now and then to keep them looking as good as new!
Customizable: You can mix and match colors, photos, patterns, etc. And if you don't like any of the basic designs on offer, you can easily upload your own photo or design. As long as it fits within their size limit (8*8 inches), it will work just fine.
Environmentally Friendly: Mixtiles are made of recycled plastic instead of glass, so they're much more durable and don't pose the same environmental risks as regular tiles.
Affordable: You can get a full set (12 pieces) for just $16.99! Even if you order just one tile at a time, you'll still benefit from their low per-tile price.
Mixtiles Review Summary
All in all, mixtiles are great value for money, environmentally friendly, easy to use and install, and comfortable too! If you want to upgrade your home with photo tiles without spending too much cash or stressing yourself out in the process, it's definitely worth giving mixtiles a chance! And since there are so many designs to choose from, you're bound to find the right mix.
Mixtiles FAQ
Can you get Mixtiles in different sizes?
Yes, you can get mixtiles in different sizes. The size of a mixtile can be customized to fit your space.
Can I get Mixtiles in sizes other than 8 x 8?
Traditionally, Mixtiles are 8" x 8" each, and you can choose from an assortment of different mattes and frames to suit your personal style.
As we have learned from the Mixtiles support, they recently made several new sizes available:
- 8.33" x 8.33" (21.6cm x 21.6cm)
- 8" x 11" (20.32cm x 27.94cm)
- 12" x 12" (30.48cm x 30.48cm)
- 12" x 16" (30.48cm x 40.64cm)