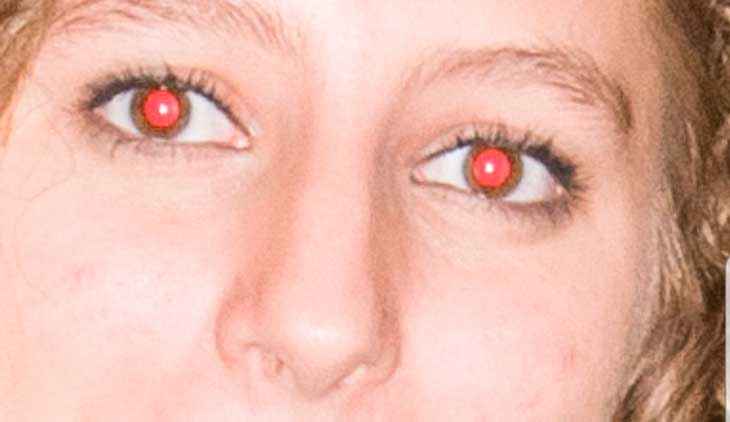
The ubiquitous and frequently undesirable phenomenon in photography, the red-eye effect, can transform a lovely portrait into something extremely unsettling.
It occurs when the flash from the camera bounces off the blood vessels in the subject's eyes, producing a crimson glow.
Although red eye is bothersome, understanding its origins, how to prevent it, and how to rectify it in post-processing can enhance your photography. We'll delve into the realm of red eye in this guide to help you capture more captivating and realistic images.
Understanding the Causes
To effectively combat red eye, it's crucial to understand its causes. The main reasons behind red eye include:
Low Light and Flash Usage
Red eye most commonly arises in low-light situations when the subject's pupils are dilated. The camera's flash, positioned near the lens, illuminates the back of the eye, causing the red glow.
Reflection from Blood Vessels
The red hue stems from the flash reflecting off blood vessels in the retina at the back of the eye. This effect is more noticeable in individuals with lighter eye colors.
Direct Flash
Utilizing the camera's built-in flash, which is generally aligned closely with the lens, elevates the chances of red eye. This is because the flash's light takes a direct route to the retina.
Keeping Red Eye at Bay
Many prefer correcting red eye in post-processing over prevention. However, here are several techniques to diminish the risk of red eye in your images:
Use Ambient Lighting or Natural Light
If possible, refrain from using your camera's flash. This reduces the probability of red eye. Consider employing an external flash unit. Instead of directing light straight into the subject's eyes, angle or swivel the flash to reflect the light off another surface like a wall or ceiling. This diffused light diminishes red eye risk.
Reduced Flash Intensity
Some cameras allow the adjustment of the flash's intensity. Reducing flash power can mitigate its effects.
Boost Ambient Lighting
Illuminate the room or area more broadly. This causes the subject's pupils to constrict, reducing the chance of red eye.
Anti-Red Eye Mode
Many cameras feature an anti-red eye mode that activates a series of pre-flashes prior to capturing the main shot. These pre-flashes cause the subject's pupils to shrink, decreasing red eye presence.
Post-processing Red Eye Correction
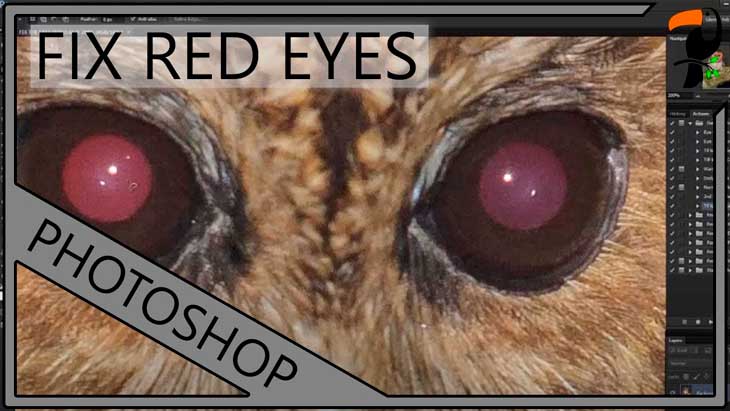
If red eye persists despite preventive measures, it can typically be addressed during post-processing using software like Adobe Photoshop or specific red eye removal tools. Here's a basic process for red eye elimination:
Locate the red eye removal tool in your editing software and select it. It's often symbolized by an eye icon. Zoom In: Magnify the image to clearly observe the affected red eyes.
Pupil Size Adjustment
Use the red eye tool to define the affected pupil's dimensions. Ensure the entire red portion is covered by your selection.
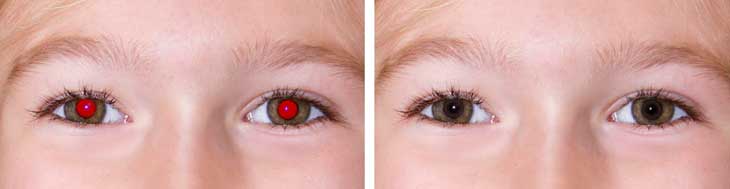
Apply Correction
Once you've made the necessary adjustments, activate the red eye removal. The software will usually replace the red with a more natural shade, such as brown or black.
Review and Adjust
After applying the correction, inspect the area to ensure it appears authentic. You might need to fine-tune the color or brightness to match the surrounding eye area.
Save Your Edited Image
Once satisfied with the result, save your edited photo.
Effective Red Eye Correction Advice
To ensure your red eye correction appears genuine, consider the following
Always zoom in for clarity when making amendments. Avoid drastic alterations in one go. Instead, implement incremental adjustments until the eyes look natural.
Use Feathering
Some red eye tools offer feathering to seamlessly blend the corrected area with the natural eye color.
Inspect the Whole Eye
Look at the iris and pupil for residual red or unnatural shades.
Maintain Natural Eye Highlights
Ensure that corrected eyes retain genuine-looking highlights and reflections.
Making the Most of Red Eye in Photography
Red eye is a common concern in portrait photography, but with the right knowledge and techniques, it's easily addressed.
By understanding the causes, taking preventive measures, and knowing how to amend it in post-processing, you can produce more enticing and genuine images.
While red eye can be distracting, remember it's a minor issue easily rectified, enabling you to focus on your subject's true essence and the story you wish to share through your photos.
Thus, as you embark on your photographic journey, view red eye as an opportunity to refine your skills and craft even more rather than a hindrance.