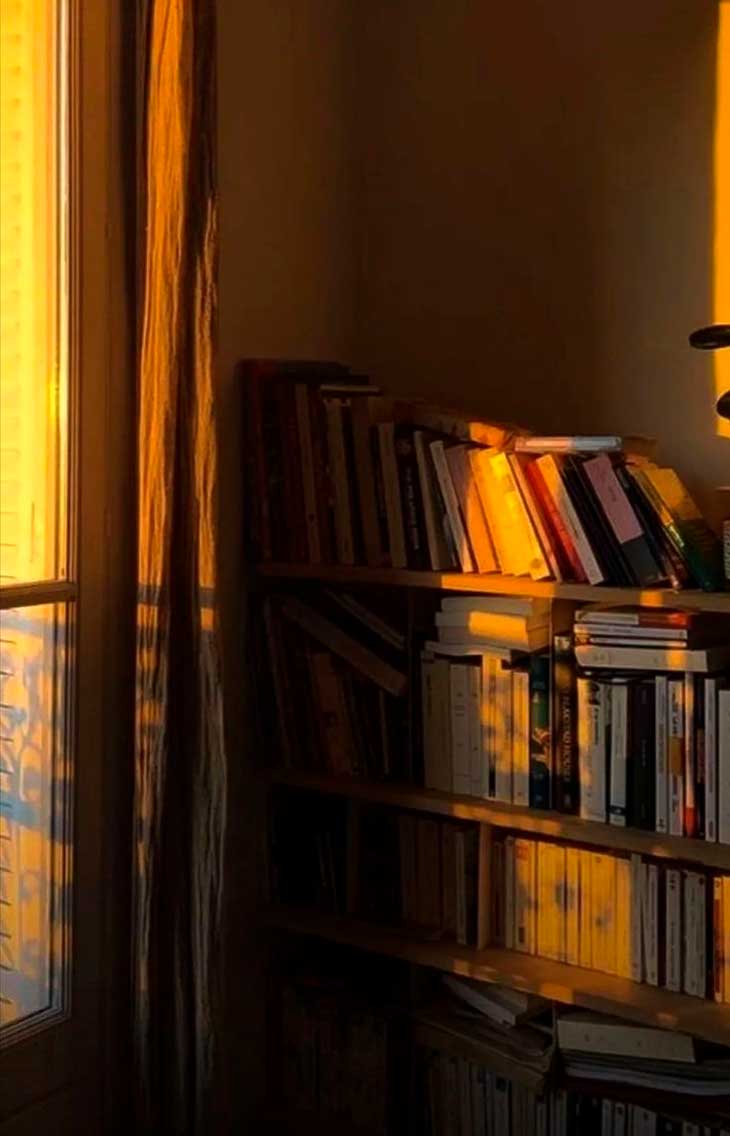
As the name suggests, the magical time for taking photographs bathed in the delicate and warm glow of the rising or setting sun is ephemeral.
Nevertheless, it has gained a lot of popularity due to its flattering and intriguing effects. In fact, because their customers prefer this appearance, many portrait photographers choose to book outside picture shoots around the golden hour.
While the backdrop of this light's natural beauty makes for striking photographs, good implementation necessitates careful planning.
Eight helpful suggestions for golden hour photography are provided in this post, allowing you to take outstanding pictures even when the sun is not shining.
What is the golden hour?
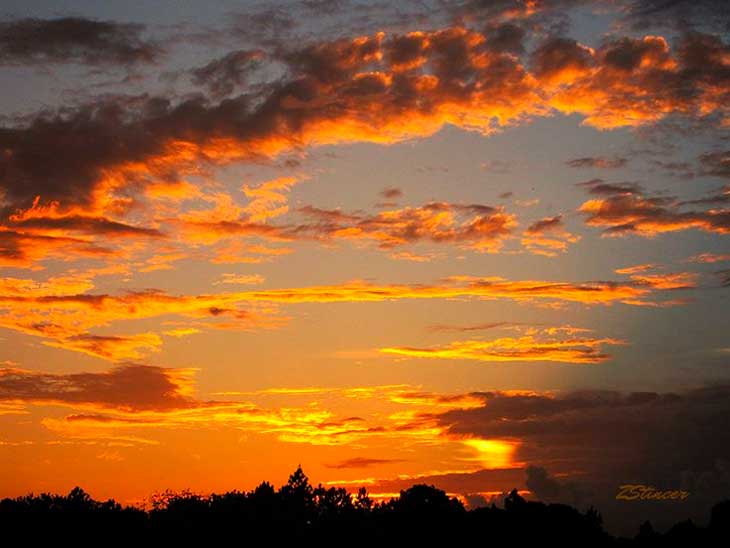
The first hour after dawn and the last hour before sunset are commonly considered to be the golden hour, also known as the magic hour.
However, its exact duration may change depending on the season. In contrast to the intense noon heat we are typically used to shooting in, the sun casts a soft, diffused light during these times as it lingers low on the horizon.
This particular quality of light contributes to reduced contrast, minimizing the risk of losing details in deep shadows or overexposed highlights.
The warm, inviting ambiance it imparts enhances the overall scene, while elongated shadows serve to accentuate finer details, introducing texture and dimension to your photographs.
Furthermore, there is usually a smaller crowd present during dawn and dusk compared to other times of the day, affording you the opportunity to capture your images in a more tranquil environment.
When to use it?
The golden hour principle can be effectively employed in various outdoor photography genres. Beyond its suitability for landscapes and urban vistas, it proves advantageous for outdoor portraits, capturing the beauty of flowers and foliage, and even certain forms of still life photography, including automobiles.
Seasoned photographers place great faith in this rule, with some adhering to it so faithfully that they prefer not to conduct outdoor shoots during other times of the day.
While you need not be as unwavering, it is worth recognizing that these professionals have earned their reputation for a reason, and their guidance often proves invaluable.
Golden hour photography tips for magical photos
Understanding the timing of the golden hour for your photography session
The golden hour in photography is not always a fixed hour; rather, its duration varies depending on your geographical location and the season.
This magical lighting effect occurs as the sun moves between approximately six degrees above the horizon and four degrees below it. This phenomenon takes place twice a day, around sunrise and sunset, typically lasting for less than an hour.
When planning your photography session, whether for landscapes or personal portraits, you have the option to rise early and capture the enchanting sunrise. However, based on my experience, most clients prefer to schedule their sessions around sunset.
Observe the location
Regardless of your photography plans, whether it is capturing golden hour photos or working under the midday sun, thorough location scouting is a golden rule that should never be neglected.
For golden hour photography, this practice becomes even more crucial due to the limited time available. If visiting the location in person before your session is not possible, you can rely on the assistance of apps like those mentioned earlier, or explore the location online to gain insights into its layout.
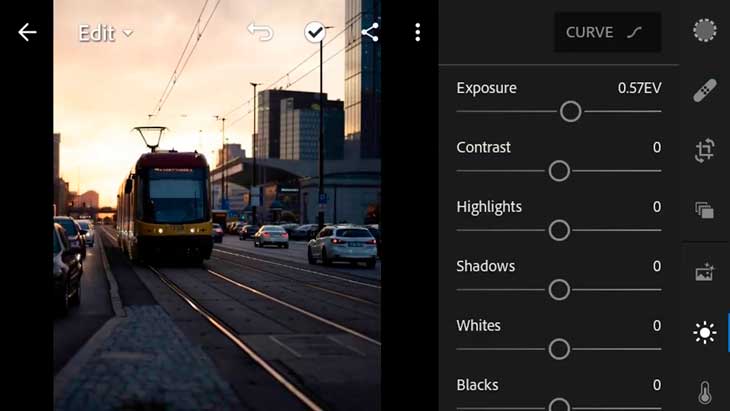
Shoot RAW images
When it comes to photography, choosing the RAW format over JPEG provides you with greater flexibility for refining your images. This recommendation holds true regardless of when you are shooting, but it is particularly advantageous for golden hour photography.
Despite the soft quality of the light during this time, it still presents a high-contrast lighting situation, which can lead to the loss of essential details.
Working with a compressed JPEG format limits your post-processing capabilities, whereas RAW image files preserve a wealth of detail, granting you the latitude to make significant adjustments.
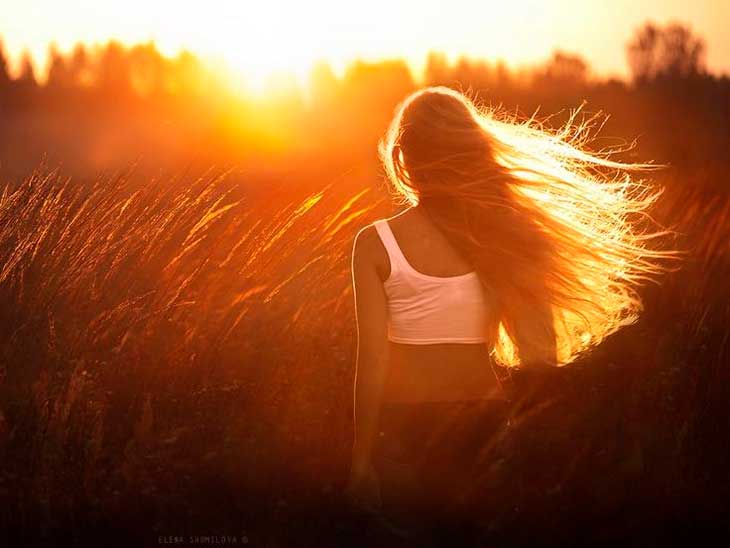
Backlight your subjects
While you can certainly employ the setting sun as your primary light source and explore creative angles for dramatic portraits, we highly recommend utilizing backlighting to achieve exceptional golden hour photographs.
Backlighting imparts a radiant glow to your subjects and mitigates harsh shadows on their faces, resulting in a captivating visual effect.
Expose to highlight golden hour
This advice is essentially an expansion of the previous tip. When your subject is backlit, and you adjust the exposure for the skin, you risk overexposing the highlights and diminishing the enchantment of the golden hour.
Although it is common practice to expose for the skin, doing so in this context will compromise the vibrant colors typically associated with the golden hour. Instead, the goal is to preserve the highlight details to the greatest extent possible.
Control the flare
When you are shooting into the sun, it's all too easy to inundate the frame with excessive light, potentially sacrificing the detail in your subject’s face.
To gain greater control over flare in your golden hour photos, strategically position your subject between the camera and the light source.
Gradually shift your position to reveal more light, ensuring just enough light enters for the ideal shot. As long as the flare is minimal, you can preserve the highlight details beside your subject’s head. My suggestion is to take multiple shots to improve your chances of capturing the desired image.
Re-create the sun when necessary
Occasionally, ideal lighting conditions may be elusive, making it impossible to capture natural light golden hour photos. But do not worry; that does not mean we cannot replicate golden hour lighting ourselves.
With a basic detachable or external camera flash or off-camera flash equipment, and the following golden hour photography tips, we can authentically recreate the golden hour and produce stunning images that will impress your clients every time.
Calculating the golden hour
Determining your daily golden hours is quick and straightforward. You can utilize a handy golden hour calculator, which employs a slightly more intricate definition of the golden hour but is exceptionally user-friendly and provides precise times.
Alternatively, if you prefer to perform the calculations manually, follow these steps
Find your local sunrise and sunset times. You can conveniently obtain these times by using an online sunrise and sunset calculator.
Engage in some basic arithmetic; the first golden hour of the day will commence just prior to sunrise and last approximately an hour. The second golden hour will begin about an hour before sunset and conclude shortly thereafter.