If you are trying to apply a watermark to a photo in Photoshop quickly and easily, look nowhere else. In this post, you will discover various types of watermarks, and rest assured, the process is less intimidating than it might seem.
Before we dive into the actual watermarking process, some preparations are in order. First, open Photoshop and import an image. The image you choose can be of any kind, but it is more convenient if it closely matches the typical size of your photos.
Afterward, you will need to determine the type of watermark you want to establish. Now, let's delve into three distinct watermark styles that you can design and implement for your images.
Creating a Text Watermark
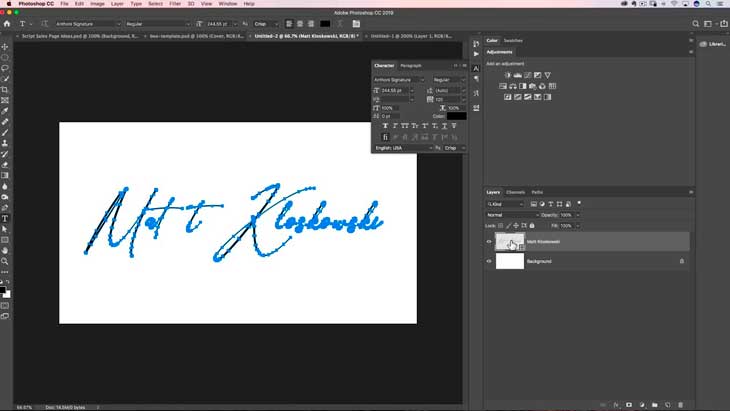
A text watermark is the simplest type to generate, typically composed of words such as your name, website, or image title, and special symbols, including the copyright symbol.
Step 1: Create a new layer.
Begin by launching your image in Photoshop. To establish a new layer, navigate to Layer > New > Layer, assign it the name "watermark," and click OK.
Step 2: Enter your text.
With the newly created layer selected, utilize the text tool, click anywhere on the image, and input your copyright notice.
Do not concern yourself with the font size, position, or color at this stage; we will adjust all of these shortly. Should you wish to include special characters, such as the copyright symbol, you can insert them using the Windows Character Map (Start > Programs > Accessories > System Tools > Character Map) or MacOS X Character Palette (Edit > Special Characters).
As a handy shortcut, you can insert the copyright symbol in Windows by holding Alt and typing 0169 on the numeric keypad, and in MacOS X by pressing Option + G.
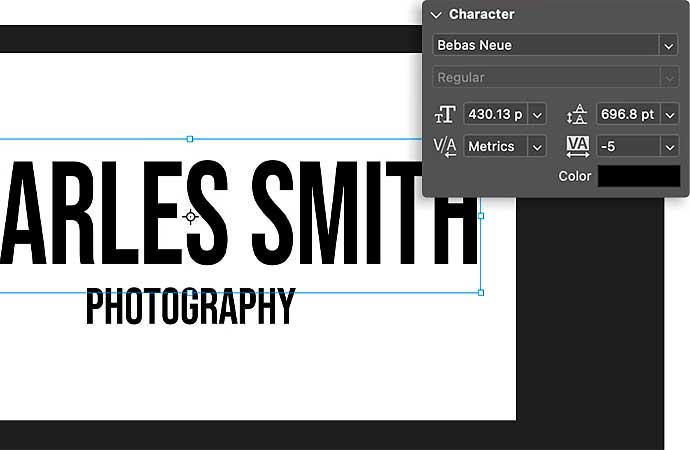
Step 3: Tweak the font.
Opt for the text tool and highlight your copyright notice. Employ the toolbar to adjust the font, face, and color according to your preferences.
You can also experiment with the font size, although we will be resizing the watermark in the following step. Select an appropriate color for your text; generally, plain and neutral colors work best.
Therefore, typically opt for either pure white or black, depending on which stands out more. Another option to consider is 50% gray (RGB 128, 128, 128).
Step 4: Position the watermark.
Now it's time to determine the placement of your watermark. I typically position mine on a region with relatively uniform color, ensuring it does not obscure the main subject of the image, often near a corner.
However, you have the choice to draw more attention to yours if you so wish. To resize or rotate your watermark, use the Free Transform tool (CTRL+T on Windows, CMD+T on Mac). To retain the text dimensions and prevent distortion while resizing, remember to hold down Shift.
Step 5: Finishing touches.
The watermark is satisfactory in its current state, but it may not be very subtle and could attract excessive attention. This is readily fixed by adjusting the layer's opacity.
The best outcomes come from using a range of 30% to 50%. If you want to make the text a bit more appealing, you may apply some effects. The Bevel and Emboss effect can be visually appealing and helpful in distinguishing the watermark from the background in certain images. However, it is important not to overdo it; a straightforward watermark is more legible and less distracting.
Adding a Logo Watermark
Instead of using plain text as your watermark, you may use your own logo. If you are a professional photographer, writer, or hobbyist, this method can produce really effective outcomes, even if it is a little more complicated.
Step 1: Prepare your image.
To create an effective watermark using your logo, the initial step is to eliminate all color from it. This involves opening the original file and converting all elements to black, white, or various shades of gray.
Step 2: Add it to the photo.
Open your logo image in Photoshop and copy it to the photo you want to watermark. Position it where you desire and adjust its size if needed. Select the logo's layer and change its blending mode to Darken.
This action will remove the white background, leaving only the black and gray elements. As before, modify the layer's opacity to create a semi-transparent watermark.
If you believe the watermark would look better in white rather than black, you can easily achieve this. First, add an Invert Adjustment Layer (Layer > New Adjustment Layer > Invert) in the Layers panel.
Place the Invert layer directly above the logo layer, highlight it, then press ALT/OPTION while clicking on the line between the two layers to link them.
This ensures that only the logo is inverted, not the entire image. Finally, select the logo layer and change its blend mode to Lighten. This should result in a light-colored logo, as illustrated below.
This technique can also be applied to color logos, although they may clash with the photo's colors and become less legible. Whenever possible, it is advisable to use a simple black and white logo.
Reusing Your Watermark

Once you are satisfied with your watermark design, it is a good idea to save it as a separate file. You may easily apply it to additional photographs in this way, without having to start over each time.
Making a Photoshop action that automatically applies the watermark to an image would speed up the process even further. This enables you to add the watermark with a single click, or even execute a batch process to apply it to multiple images simultaneously.