Kitchens are the heart of every home. They're where we cook our meals, entertain guests, and spend time with our families. So it's no wonder that many people want to take pictures of their kitchens!
There are many reasons why you might want to take pictures in your kitchen. Maybe you just completed a remodel and want to capture the new look, or maybe you're getting ready to sell your home and want to show off your beautiful kitchen.
However, taking good kitchen photos can be a bit tricky. The bright light and harsh shadows can make it difficult to get a clear shot, and the reflections from stainless steel appliances or granite countertops can distort colors and make the room look too bright.
Whatever the reason, there are a few things you need to know in order to take great pictures of your kitchen.
How to take pictures?
The key thing is not the camera but how the photos are taken.
You can use your DSL or point-and-shoot camera. You can also try taking pictures with your iPhone. The key thing is that camera should be set on manual mode so you can adjust exposure, ISO, white balance, etc.
We will talk about these settings later in this article. Remember that the higher resolution images you take, the better they will look when printed out! Use a tripod for your camera and adjust your settings. Make sure you're taking pictures in RAW and JPEG - there is a huge difference between the two and we'll touch on that below.
- When taking photos, make sure to use the rule of thirds! This means you should not center your focal point in the photo; instead, put it at one of the nine intersections in your viewfinder (the lines divide it into three columns and three rows).
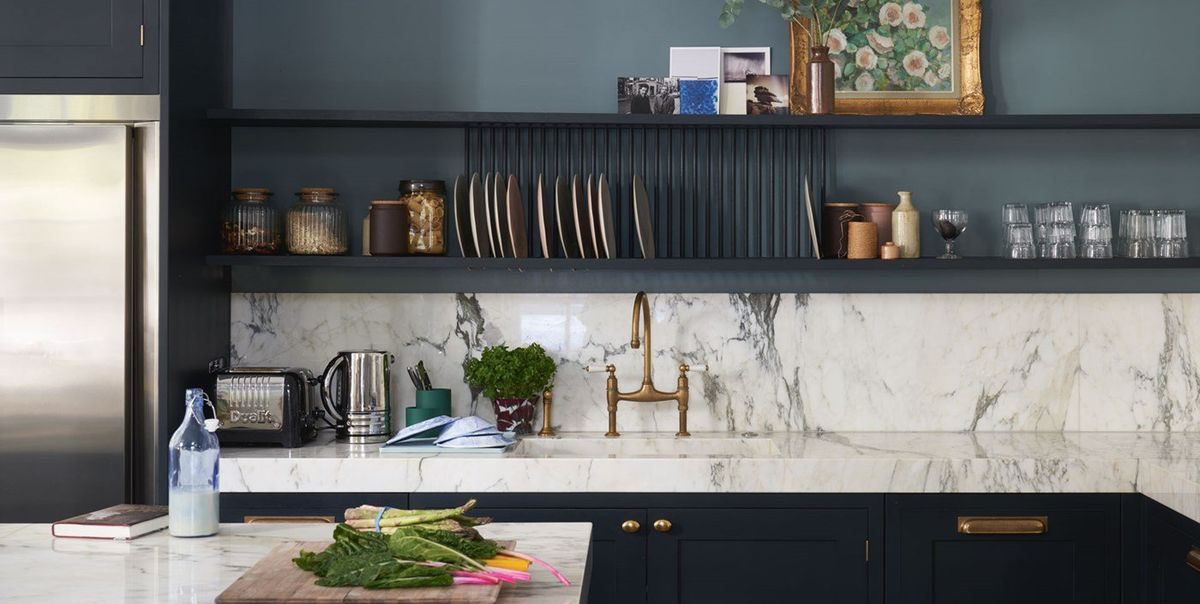
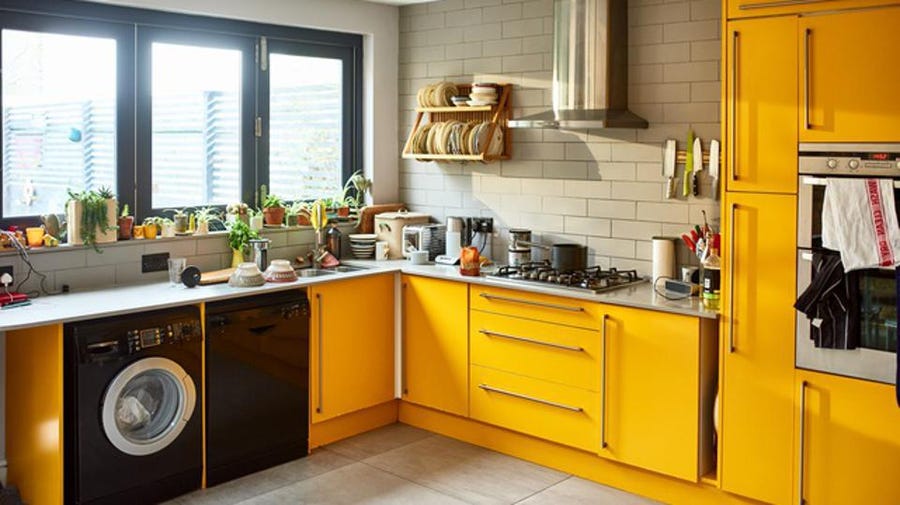
- The style of how you stage kitchen is up to everybody! Some people like a sterile clean look while others prefer a relaxed or even cluttered feeling. Just remember that when putting everything back away after staging, leave some things out so they can still be visible when potential buyers visit and take their own photos.
Lighting
Proper lighting is one of the most important factors in taking great pictures. If you want to get started right away, grab your camera and go take some shots in the room where your kitchen is located. Pay attention to how everything looks - do you see any strange shadows on the walls or countertops? Do certain areas seem brighter than others? This will give you a starting point for finding good spots for adding light to your kitchen.
Open windows are very helpful for this purpose if they're available. The more natural sunlight that comes into your room, the better it will look in pictures. Artificial lighting should be avoided (with the exception of flash) since it can create harsh, unflattering lines and make colors look strange. It's usually best to use indirect light sources whenever possible.
If you're taking pictures at night, try using a desk lamp or other small light source to create softer lighting. If all else fails, you can always take your pictures in the morning or evening when the sun is lower in the sky and produces a softer light.
Posing
When it comes to posing for kitchen shots, there are a few things to keep in mind. First of all, make sure everything looks clean and organized - no one wants to see a cluttered kitchen in photos! Secondly, try to avoid capturing too much of the background. Unless you have an amazing view out the window or some other interesting feature in your kitchen, it's best to focus on the subjects in the foreground.
Since you're probably taking pictures of your kitchen as part of selling your house, it's also a good idea to focus on the backsplash and cabinetry. Show off those new countertops! However, don't neglect other important areas such as the floor and walls - these can really affect the overall look and feel of a picture too. When in doubt, just take several shots from different angles and pick your favorite to use later on.
Composition
Proper composition is another way to make sure your photos look their best. Remember that many people will be looking at these photos online, so they need to be able to see everything clearly without having to zoom or blow them up beyond their original dimensions. As with any other type of photography, it's important to use the rule of thirds when composing your shots.
This means that you should try to position your subject(s) in one of the four intersections where the lines dividing the photo into thirds intersect. This will help to create a more balanced and visually appealing photograph. You can also use other compositional elements such as leading lines and negative space to add interest and depth to your pictures.
Editing
Even the best photos can benefit from a bit of post-processing editing. This doesn't mean you have to go crazy with Photoshop or any other software - a simple crop and slight adjustment to the brightness and contrast can make all the difference. Just be careful not to overdo it, or your photos will start to look unnatural.
With a little practice, you'll be able to take great pictures of your kitchen that will show off its best features and help you sell your home faster. So get started today and see for yourself how easy it can be!
Staging
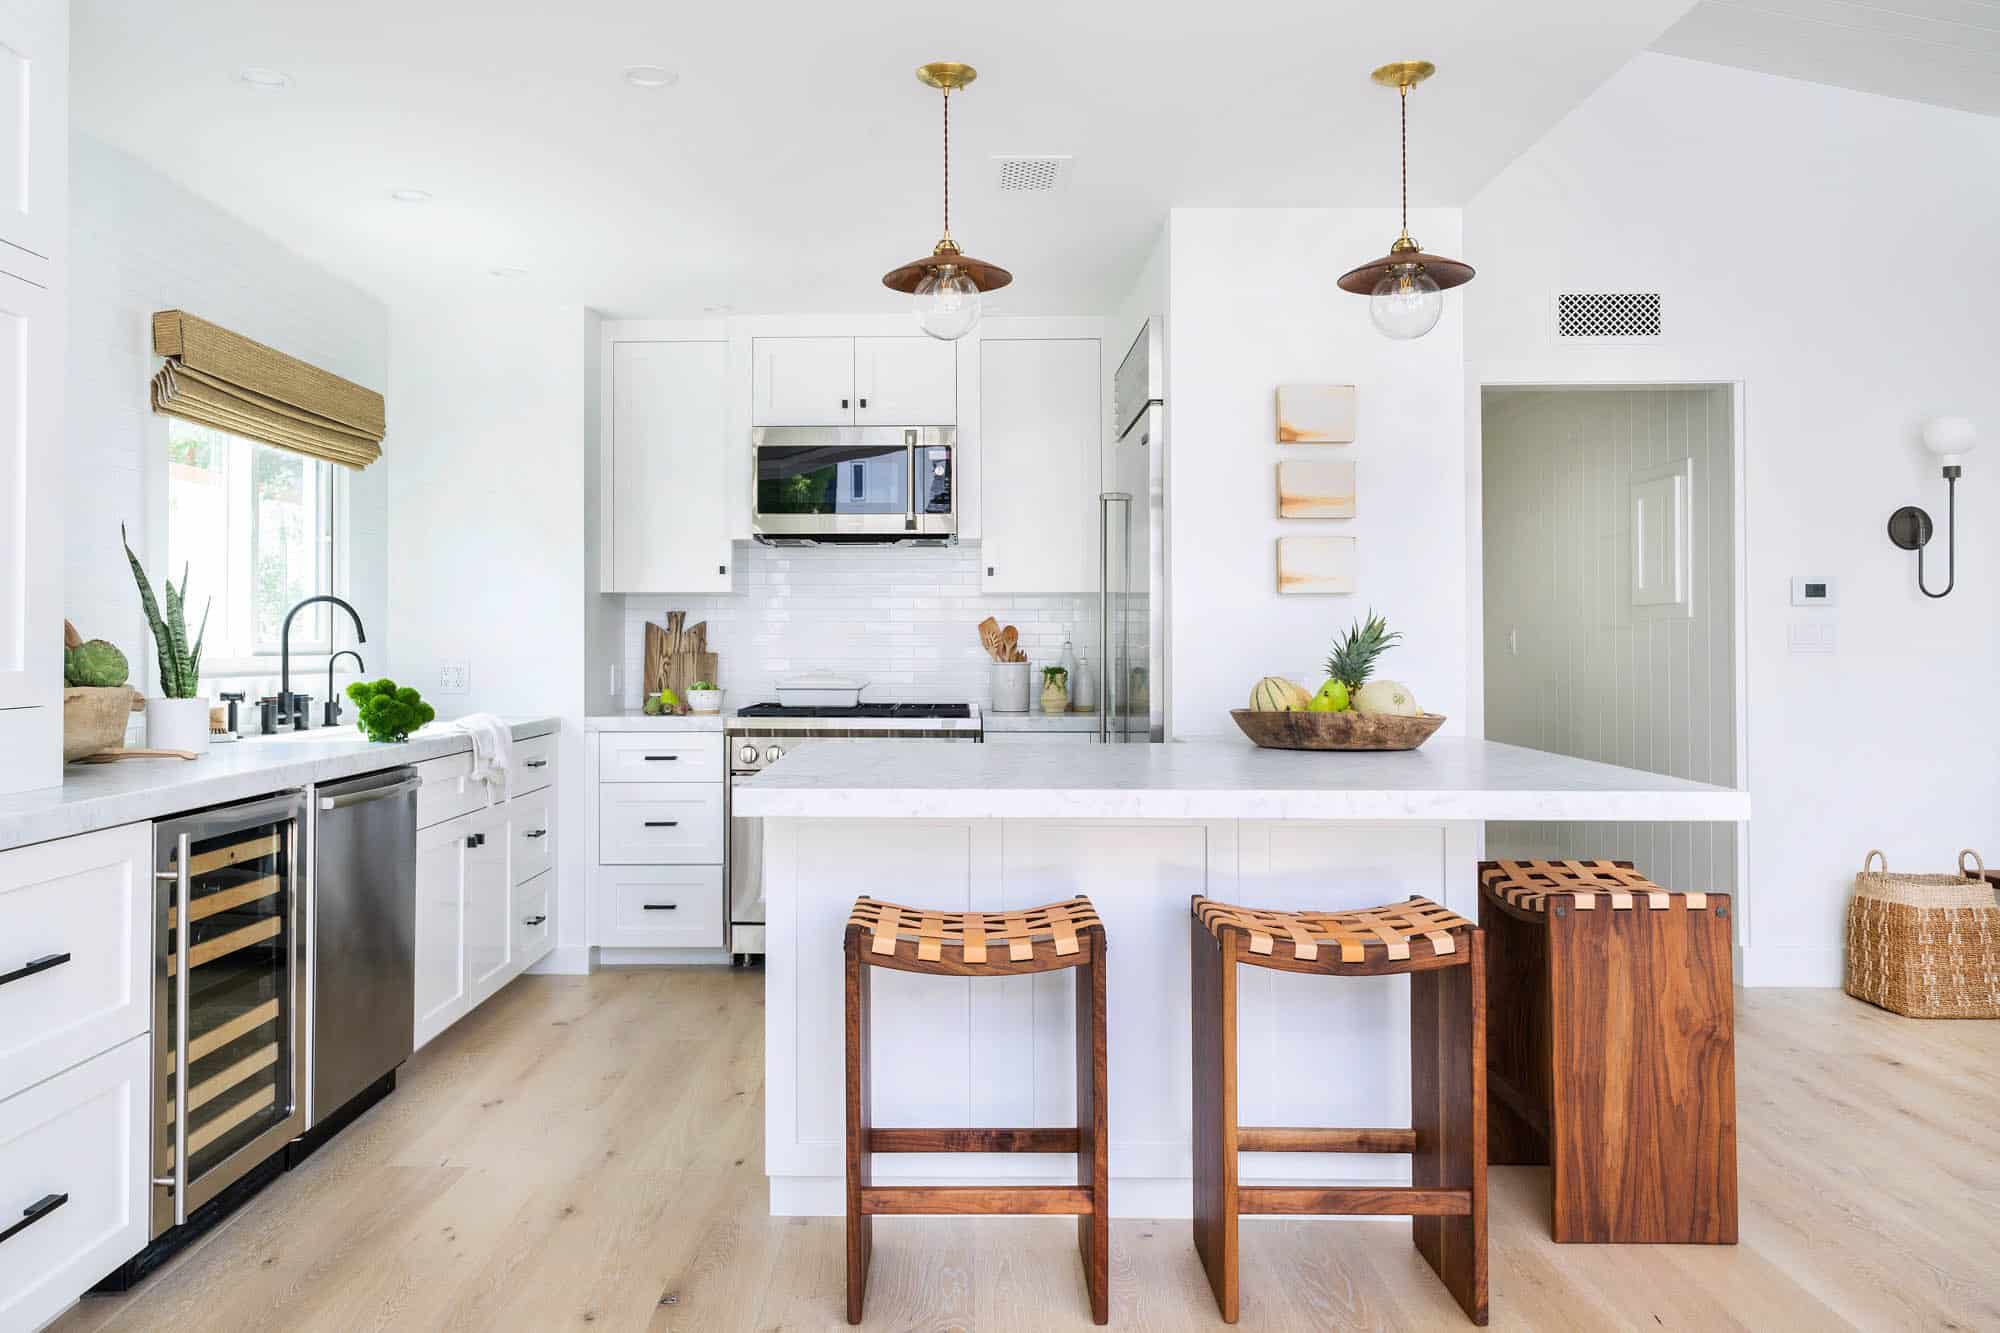
The kitchen can also be staged with props to make the home more presentable. This is often done in professional photography but can be done with a little bit of effort on your part. Try using baskets or bowls to hold produce, cookbooks to add height, or flowers to brighten up the room. If you have any specialty kitchen items (like a pizza oven), be sure to include them in your photos!
We cannot stress enough how important it is to get the space right when doing kitchen staging. It's really difficult to visualize a space if the furniture is too close together or too far apart! Make sure that you have plenty of room in all directions - enough for someone to walk around easily, access cupboards and appliances, sit down at a table, etc. Don't overdo it by putting everything exactly where it should be, but definitely try taking measurements to make sure that your furniture will fit wherever you decide to put it ahead of time.
Before you start arranging things, remove any clutter from the counters (e.g., mail piles). Once everything is staged, take photos with an empty countertop so that potential buyers can see how much space they would have to work with.
Make different photos
Move all through your kitchen. Look down, look up, sideways. Get photos of every angle of your kitchen. This will help you when you are ready to make a listing or post an advertisement for your home. You want people to be able to see everything in the photo so they can get a good idea of the space.
Include all of the rooms in your kitchen. If you have a dining room or living room, be sure to get photos from both of these rooms. There is nothing worse than a photo that excludes a part of your home. You can also take pictures from outside if it's a nice day out! Generally speaking though, the best place for staging kitchen photos is directly inside your home.
You should also take photos with and without people in the kitchen. This gives potential buyers an idea as to how big the kitchen is. If you have a large family, this is a great way to show that off in your advertisement! Finally, make sure to get some close-ups of your appliances and countertops. People love seeing nice kitchens with granite countertops or stainless steel appliances!
Focal Point
Choose one focal point and make all other items in the photo secondary to that focal point. For example, if you want people to see your kitchen cabinets then try having your backsplash be the focal point and have everything else around that at least somewhat tie into it directly or indirectly.
If you're trying to show off flooring then have the cabinets tie into that. It's okay to have more than one focal point but make sure it is complementary and not distracting as multiple focal points would be.
Key features of your kitchen
The key things to include in photos are appliances, countertops, flooring, paint color (if you haven't painted), wall treatment (if you've done anything interesting there), lighting (overhead & task), and built-in storage.
You also need space for staging purposes, so try having people sit at a couple of chairs by the table or island. Counter height stools are good for this; if possible position them with their backs towards the corner cupboards/island where they can do everything clearly without needing to rotate their chairs to see anything.
How to make your kitchen look attractive?
Some easy tips are to:
- Clear off your countertops - this will help potential buyers visualize the space
- Use baskets or bowls to hold produce, cookbooks to add height, or flowers to brighten up the room
- If you have any specialty kitchen items (like a pizza oven), be sure to include them in your photos!
- If you have an island, put a couple of chairs by it - this helps show that there is enough space for people to sit and chat
- Try using different lighting (overhead & task) to see what looks best
Conclusion
Taking good photos of your kitchen is essential if you want to sell your home. You want to use the best lighting, keep clutter at a minimum and make sure that everything is in its right place.
Take photos of your kitchen without clutter on counters or other places where there would be things. If you are looking for kitchen ideas then take pictures of kitchens that appeal to you - whether it's real estate listings, magazines, or websites. Use these ideas when you stage your own kitchen!
By staging the room and using some simple tips, you can make your kitchen look its best and help potential buyers visualize themselves living there. Thanks again for visiting us! Good Luck!