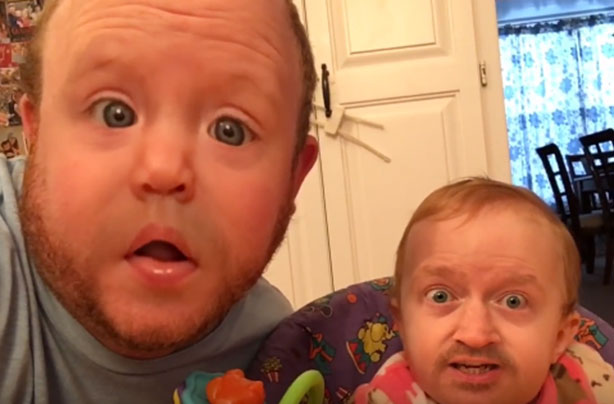
You may probably tried to do face swap in photoshop but it never quite worked out the way you wanted it to, amirite? Well, fret not! We've got a tutorial that will show you how to do a perfect face swap in photoshop, and it's actually quite easy! So let's get started.
Prepare the photos
When choosing the photos where you want to swap faces, it's important to select photos that have similar lighting and angles. This will make it easier for photoshop to recognize the faces in the photo and make the swap more realistic.
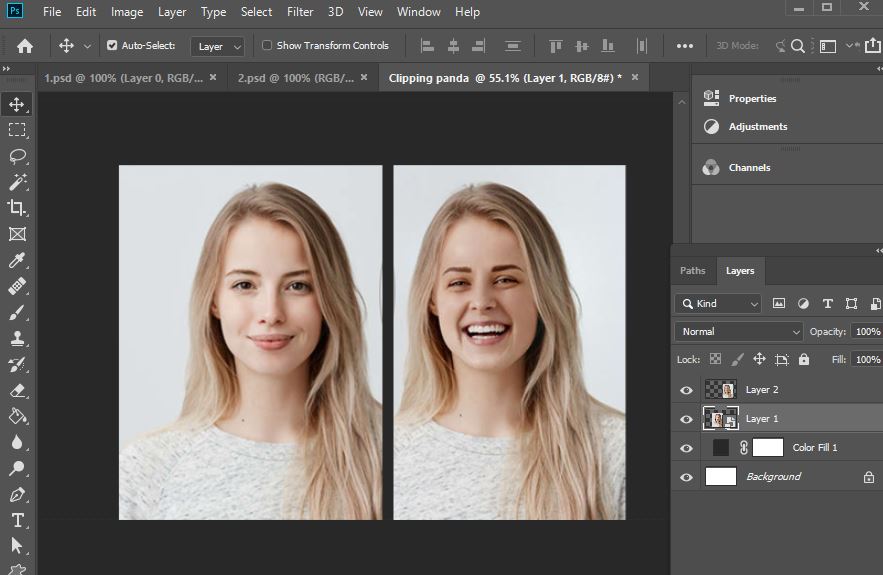
Open both images in photoshop and make sure they're on separate layers. The resolution should be the same because you don't want one image to be stretched when you make the face swap. If the images are different sizes, go to Image > Image Size and make sure the width and height match for both images.
Also, pay attention to the lighting in photos. The angle should be similar and the light should be coming from the same direction. If one photo is taken in daylight and the other at night, it'll be more difficult to make the face swap look realistic.
Once you have your images ready, it's time to start swapping faces!
Face swap: Photoshop guide
So, the first step was to open both images in Photoshop. To look at them simultaneously, we need to make sure they are on separate layers. To do that, just click on the little icon in the bottom right corner that says "New Layer".
Now, with both images on separate layers, it's time to start swapping faces! First, we need to select the face from one image. There are a few ways to do this, but the easiest is to use the "Lasso Tool" which can be found in the left toolbar.
To copy a face, go to the Edit menu, choose Copy, or use the keyboard shortcuts Cmd + C if you're working in separate windows. If you're working with different tabs, just click and drag them to the other window without using the copy command.
After it, you can go to the photo where you want to paste the face. To paste the face into this photo, use either the shortcut Cmd + V or go to Edit in the menu and select Paste. This will create a locked background layer with your original image, as well as a second layer on top of it containing the new face.
Match the new face
Now it`s time to edit the photo in such a way that a new face would look like the original.
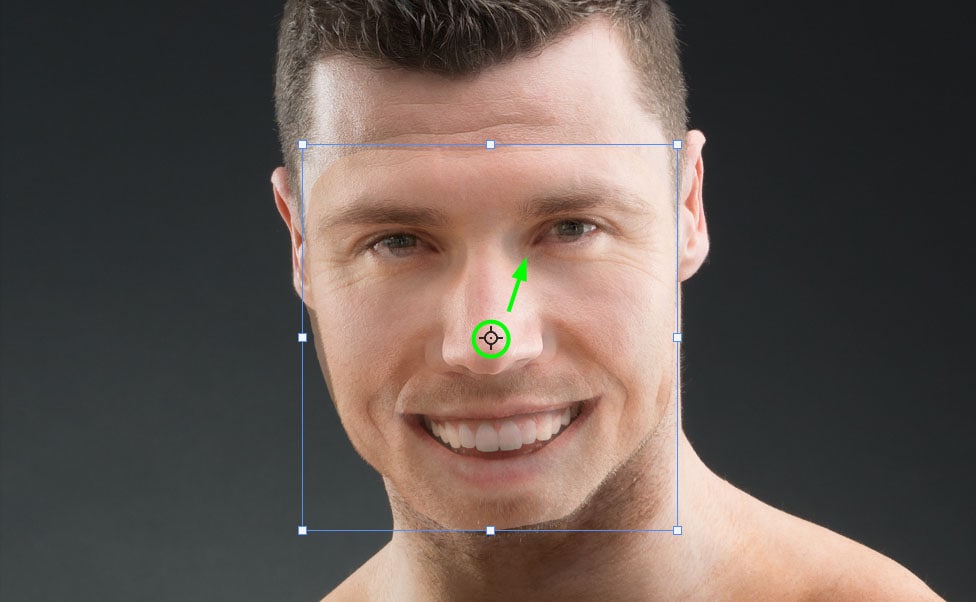
Reduce the opacity of the face layer in the Layers panel first. As a reference for your modifications, you'll be able to see the original beneath it. Then, using Cmd + T as a shortcut, activate the Free Transform tool. Start by changing the dimensions by utilizing the corners' handles. If necessary, also use the side handles to fix the proportions.
After that, move on to adjusting the face's position within the frame by clicking and dragging it around until it looks natural. If you need to rotate the face, just hover your mouse outside one of the corners handles until you see a curved arrow appear, then click and drag to rotate.
Ensure that you keep the face layer's aspect ratio while resizing it. If you're using the most recent versions of Adobe Photoshop, this is already done for you. This isn't necessary if you're using the newer editions of Adobe Photoshop; however, it's worth noting that if it isn't, you can simply hold down the Shift key as you move the handles. In addition to that, click on the chain icon in the options bar above.
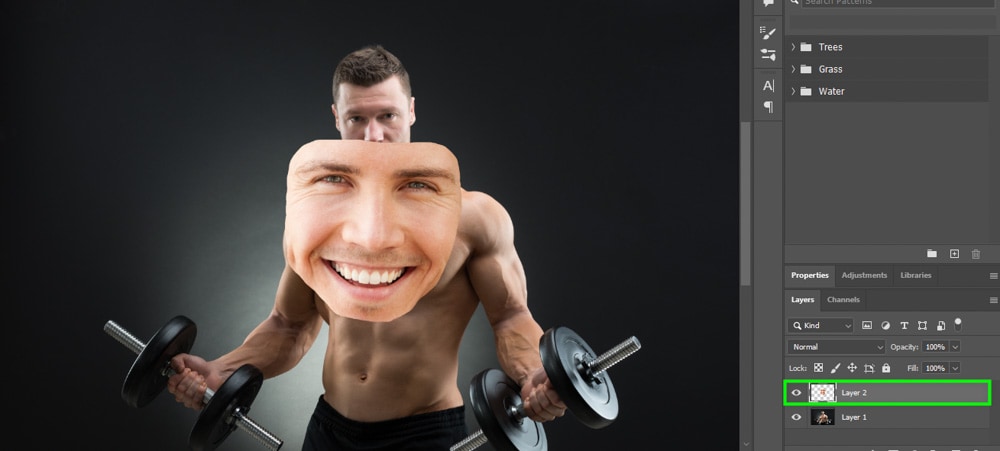
After all these steps you can return the opacity to 100%. Click on the eye icon next to the face layer to turn it off, and then click on the head icon and the body symbol below it. Let's prepare the receiving layer with the head and body. As a result, we should have two separate layers: the background and the layer with the head.
Now let's go back to the face layer. Click on it to select it and then click Cmd + J to duplicate this layer. You can also find this option by going to Layer in the menu and selecting Duplicate Layer. Doing so creates an exact copy of the layer that we can now use for our next step.
Edit the rest
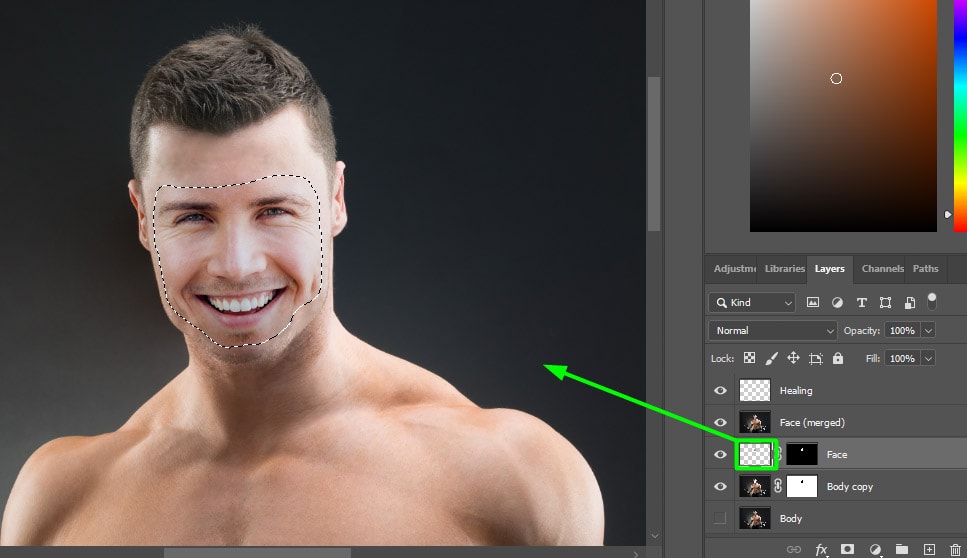
After all, go to the copied photo of the recipient where you want to paste a face. You must first delete the existing face before adding a new one. To do so, press and hold the Cmd key while clicking on the thumbnail of the face layer.
Even though it's not visible right now, it will select the layer's content. In simpler terms, it will create a selection around the features you copied and pasted from the second image. Now, double-check that you're in the background copy layer again. In the next step, we'll combine layers to create some space for the transition, so we'll make the selection a little bit smaller.
Using the same technique, you can turn off face layer visibility as well. Then, by pressing Cmd and clicking on both the face layer and the background copy layer, turn them back on. In Adobe Photoshop, go to Edit > Auto-Blend Layers. A dialog box will open, ensure that Panorama is selected as an option. Afterward, select the Seamless Tones and Colors checkbox as well as Content-Aware Fill Transparent Area. Confirm your choices by clicking 'OK.'
That`s it! You already blended the layers!
Final points
Correct manually the small areas on the face where tones and colors don't match. Use a very soft black brush with an opacity of about 15%.
From the bottom of the Layers panel, click on the Create Layer Mask button. A white layer mask will be generated in your merged layer. Nothing will appear to have changed, but anything that is painted black over it will be hidden. Now, click on the Brush tool with soft edges and start painting over the areas where they don't match.
As you can see, the process of face swapping in Photoshop is pretty simple and doesn't require any advanced skills. The only thing you need is a couple of decent photos and some patience. So go ahead and give it a try!
Why do you actually need to try a face swap in Photoshop?
The answer is pretty simple: why not? It's a fun way to create a new look for yourself or someone else. In addition, it can be used for practical purposes, such as creating a new ID photo. Whatever your reasons, face swapping is a great way to have some fun with Photoshop.
If you are a beginner in Photoshop, it would be a great idea to check some other tutorials on our blog before you start. For example, this one on how to change the color of someone's clothes in Photoshop or this one on how to remove a person from a photo.
And in case you are a professional photographer, there are a lot of clients who might ask you to do a face swap for them. Many people want a photographer to combine their favorite features from different photos into one perfect picture. So it's always good to know how to do it!
Moreover, on occasion you work on a magazine or a resource where the skill of editing photos is required, face swap in Photoshop would be an excellent option for you.
This was a quick and easy guide on how to face swap in Photoshop. We hope you found it helpful and that you'll use this technique in your future projects!
Conclusion
The face swapping process in Photoshop is pretty simple and doesn't require any advanced skills. The only thing you need is a couple of decent photos and some patience. So go ahead and give it a try! It's a fun way to create a new look for yourself or someone else. In addition, it can be used for practical purposes, such as creating a new ID photo. Whatever your reasons, face swapping is a great way to have some fun with Photoshop.